
All you're missing to take food photos like a pro
Learn how composition and lighting can take your food photography to the next level, no punches pulled. Six tips from a professional photographer to help you find your style.
1. Cameras
- Cell phone cameras are a tool like any other and the “best” camera is the camera you want to use.
- Your camera body matters less than your lens and neither one matters as much as the quality of light and your own ability to think creatively.
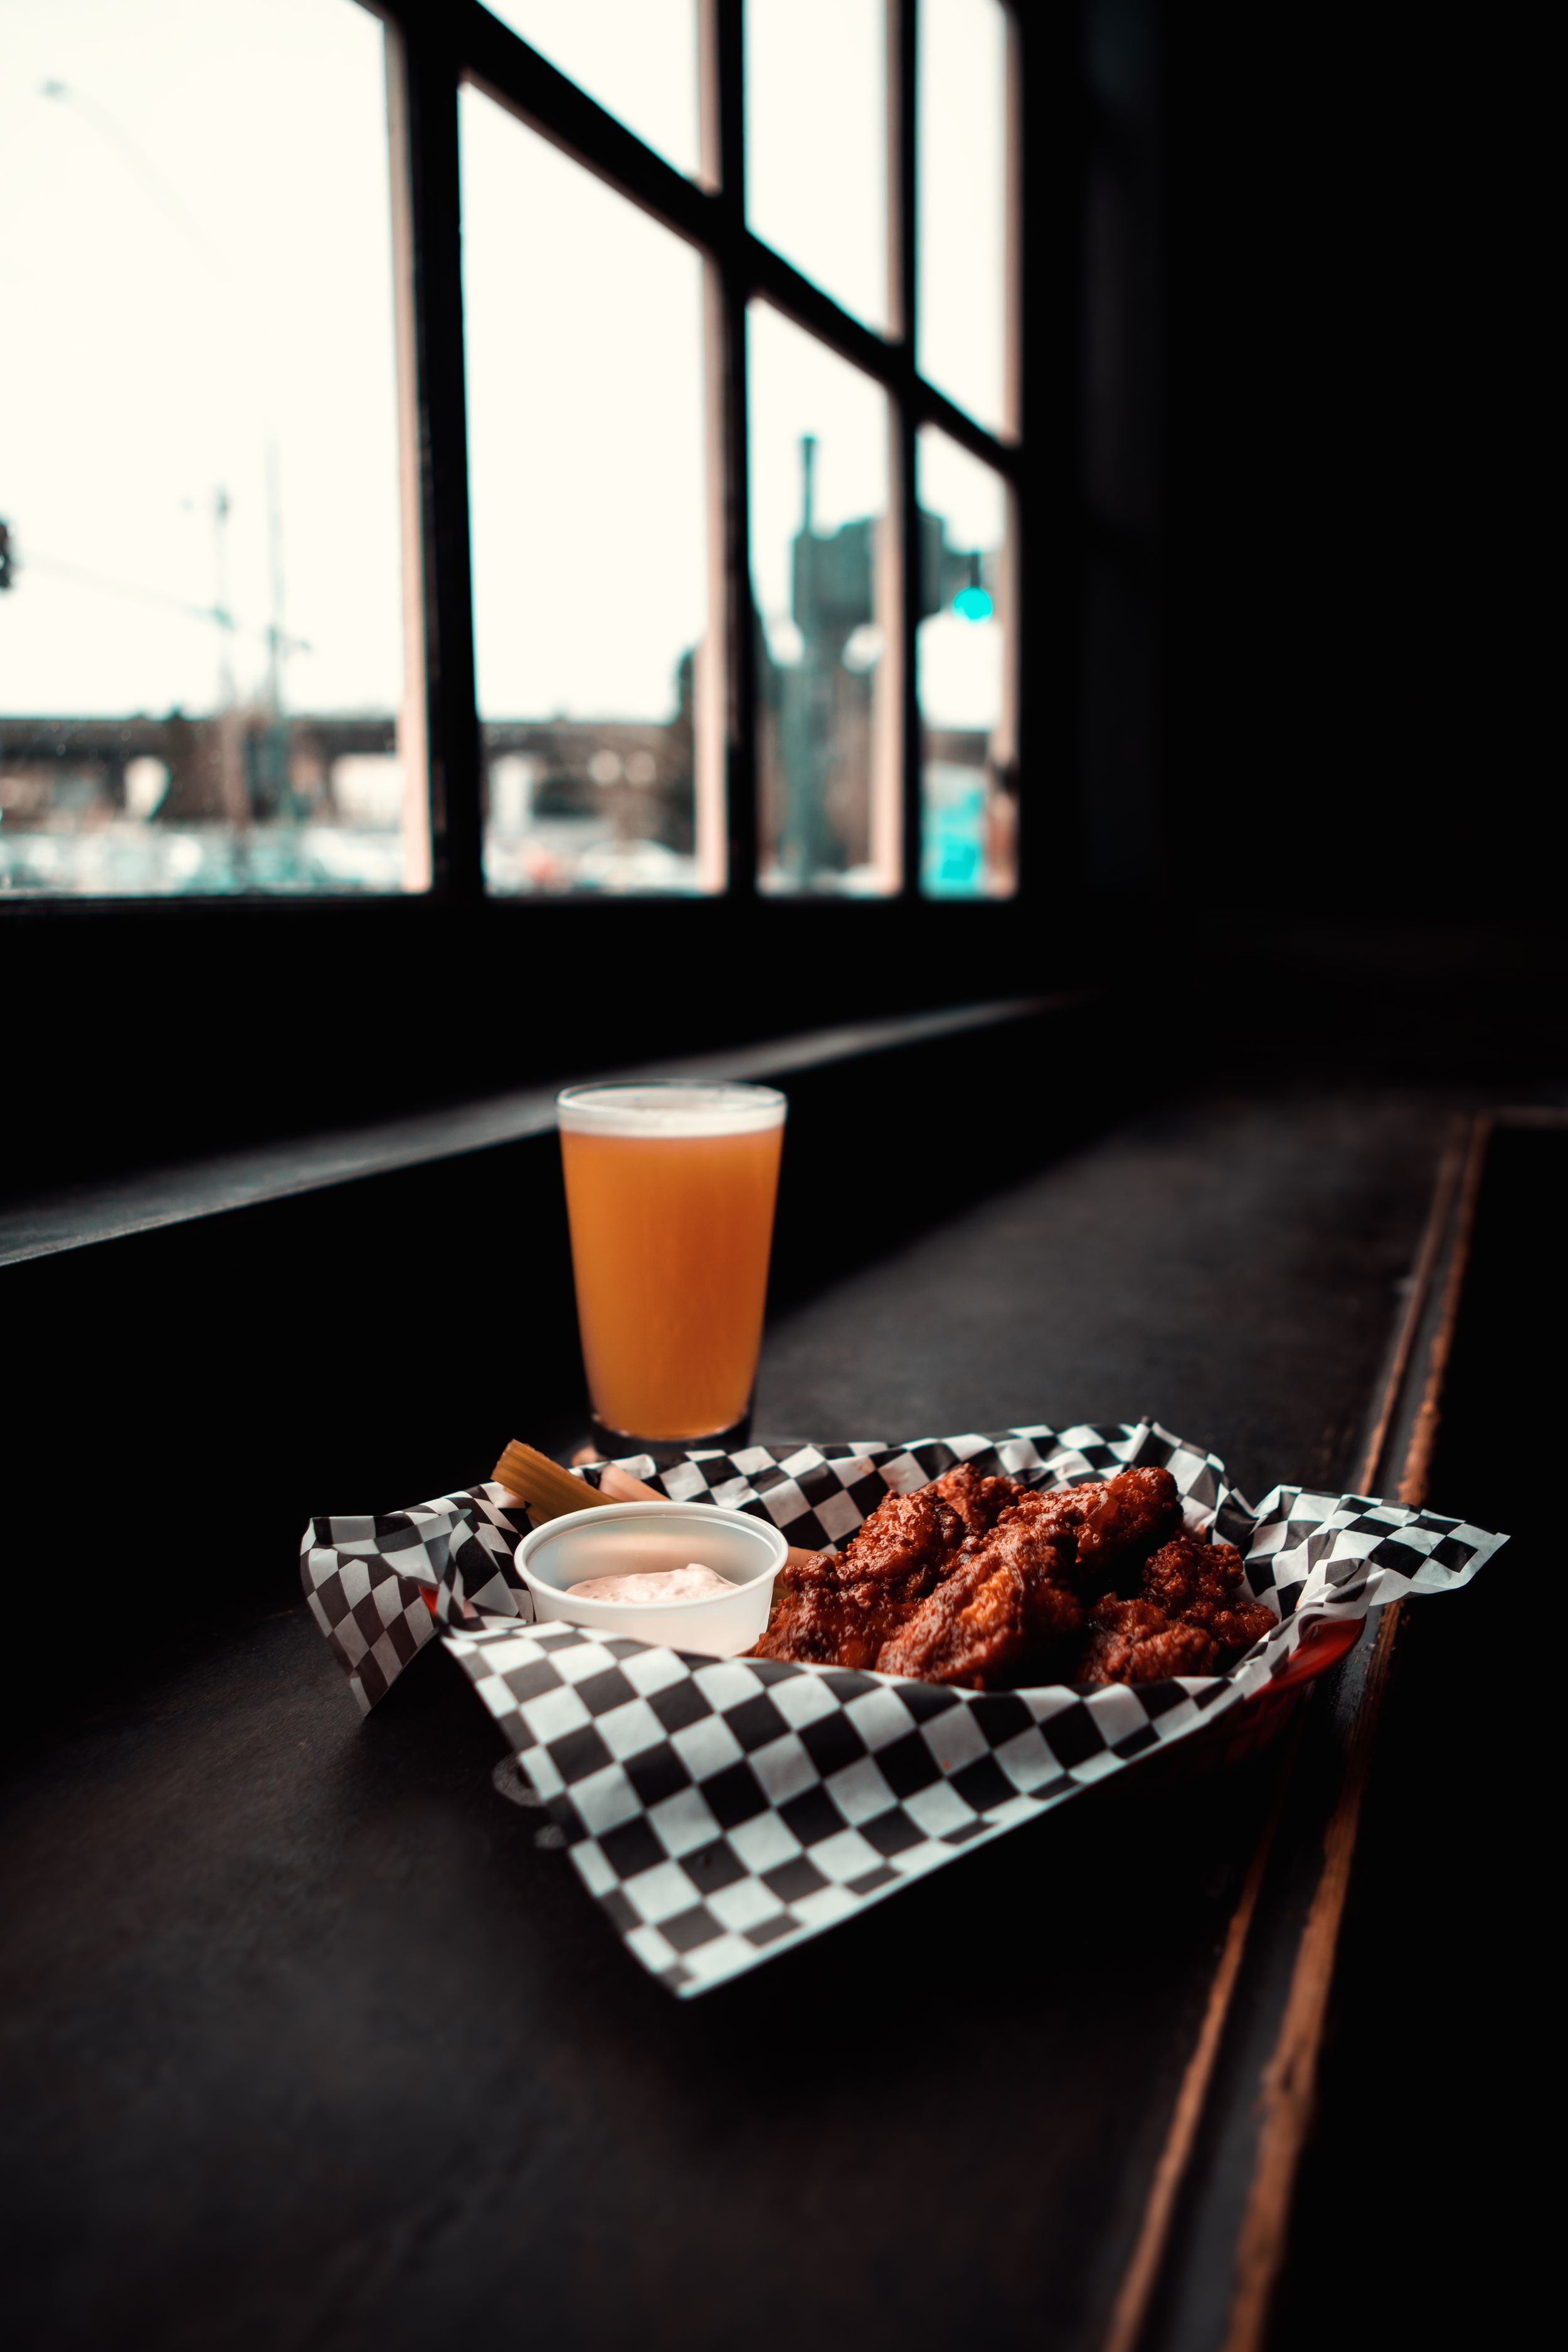
2. Light
- Finding soft light is the most important thing you can do to make your food look better.The larger the light-source in relation to the subject the softer it is. Larger does not mean brighter. Soft light is typically closer to and larger than the subject.
- If it's too dark, your camera will compensate by adding digital noise or slowing your shutter-speed; both risk rendering your final product unusable.
- Indoor light looks good from 11am to about 3pm depending on the orientation of the windows.
- Try adding light from up top or from either side, try placing a light behind your subject to make it pop. Being able to notice subtle and impactful changes will be what sets your work apart.
- Take your dish to the window or outside under shade, direct sun will blow out your highlights and create harsh shadows.Use a makeshift reflector like a poster-board or a piece of tinfoil to fill in the shadows and highlight areas of interest.
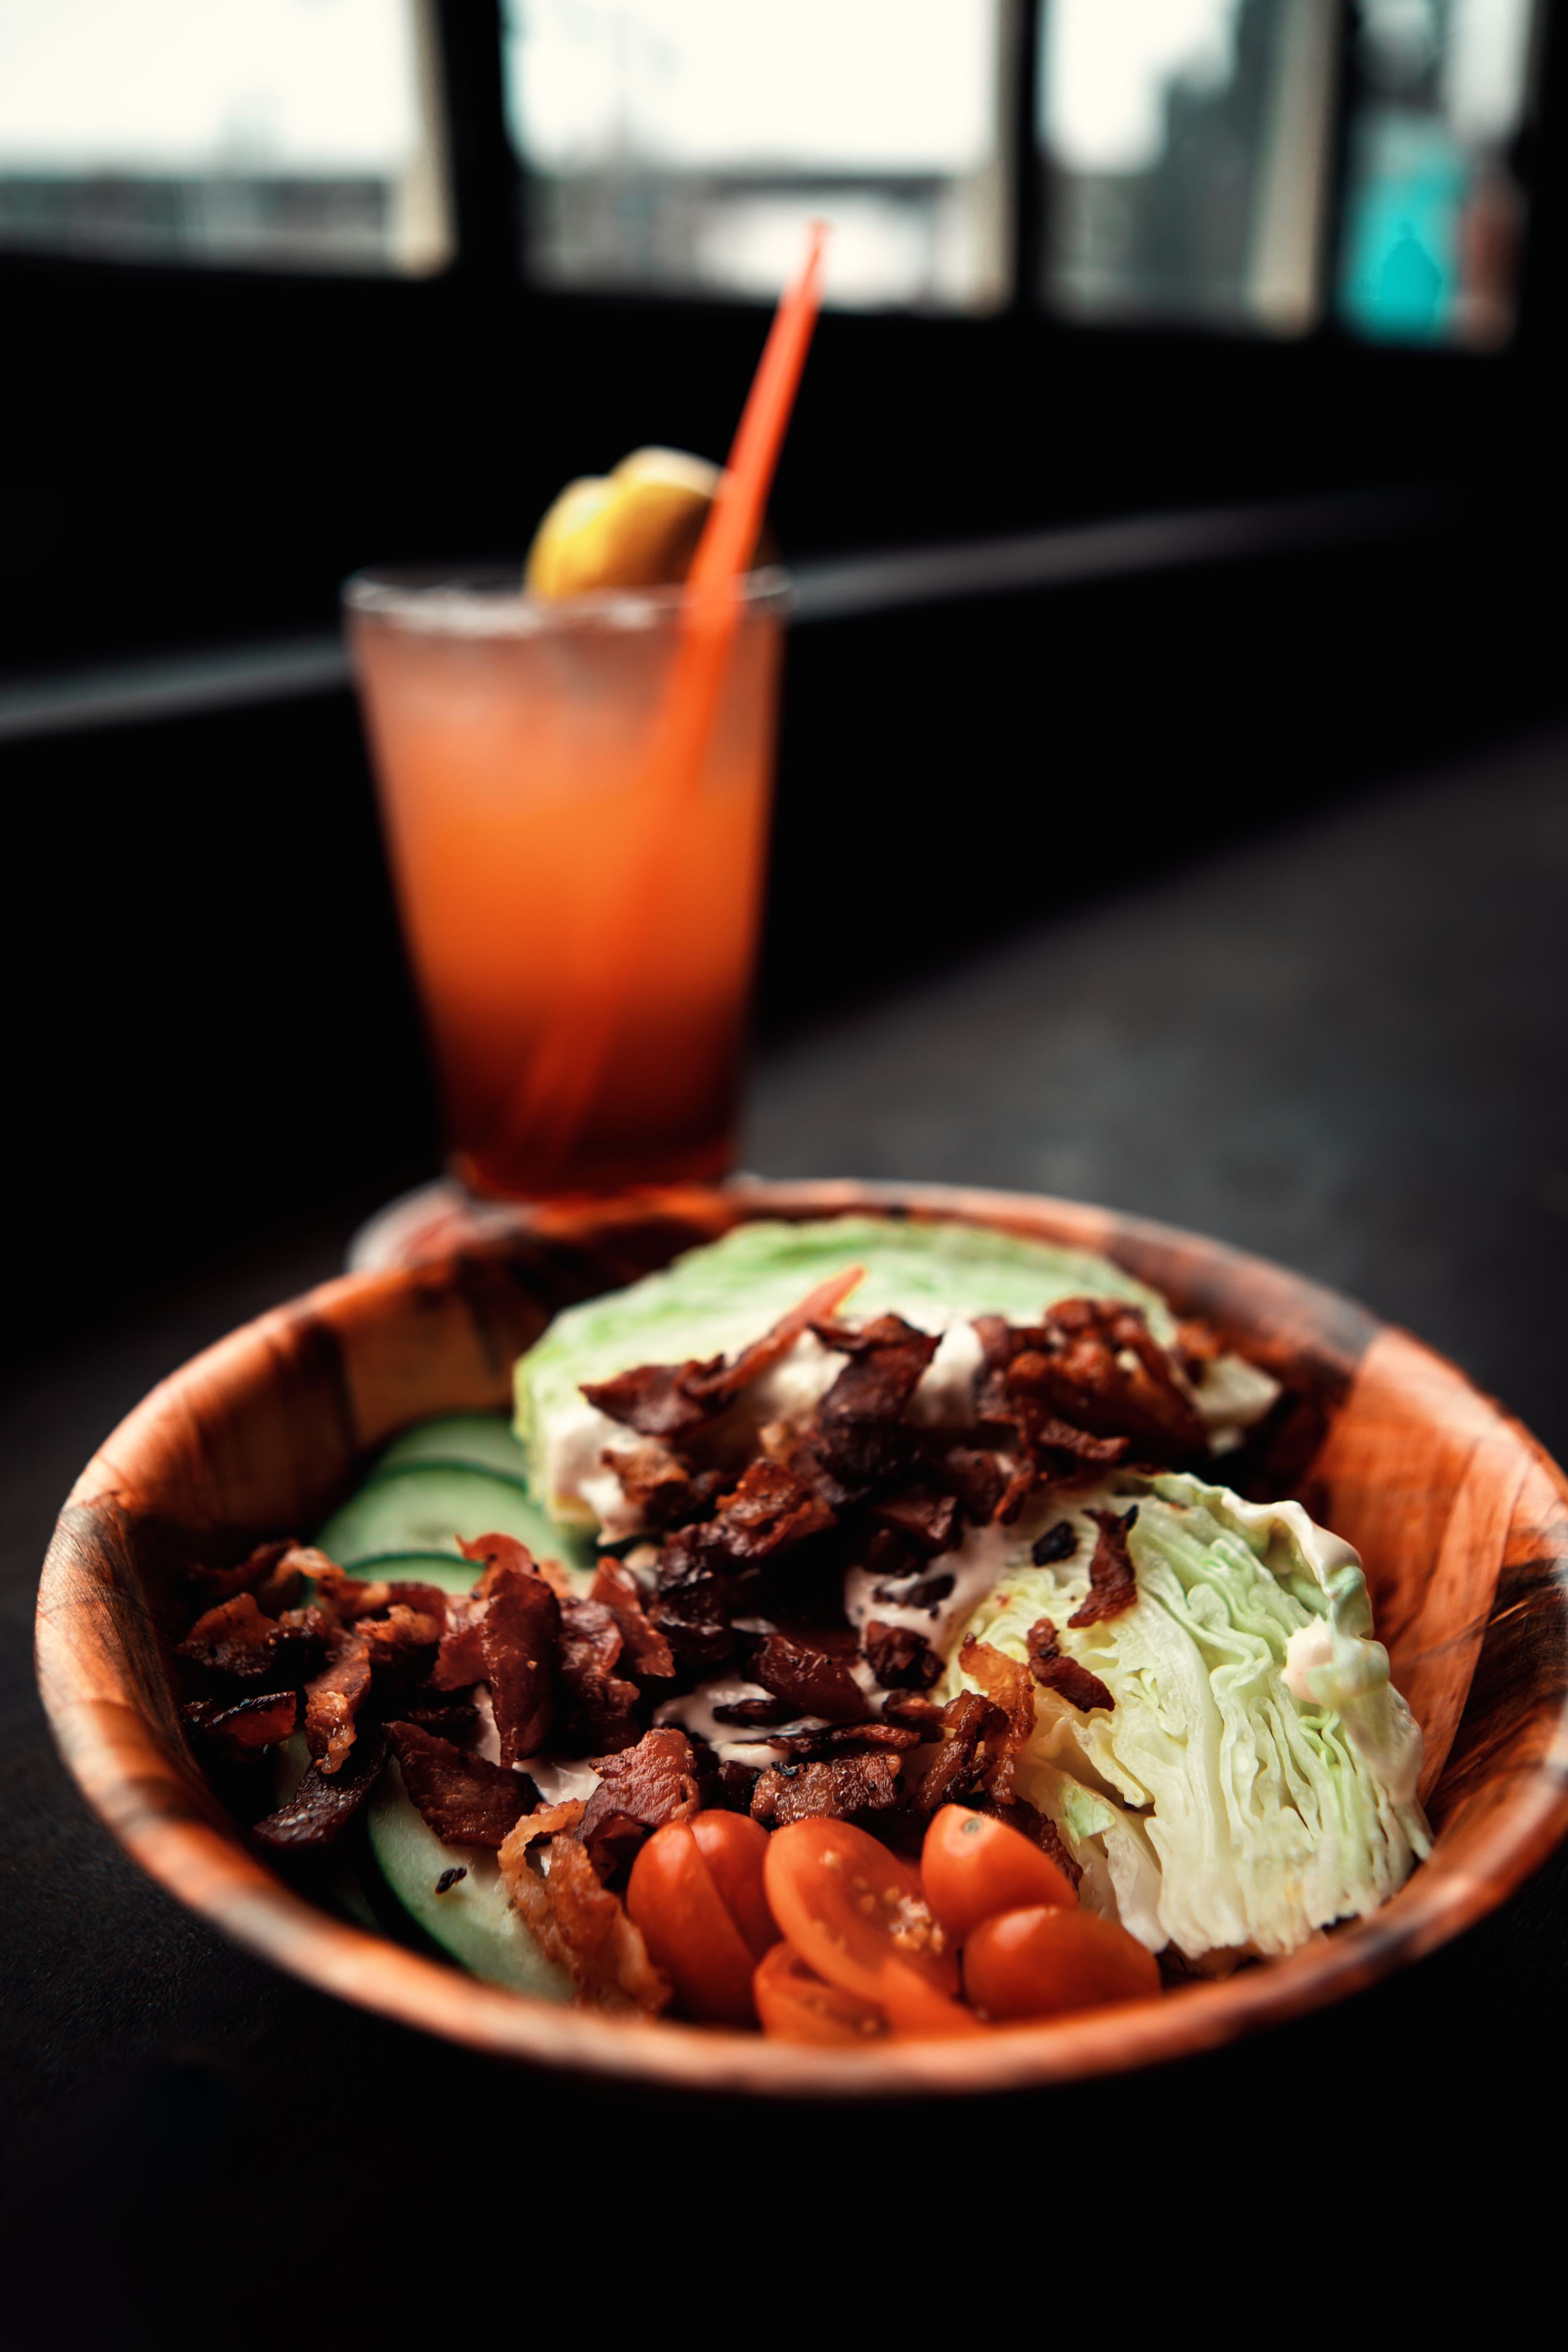
3. Plating
- Texture and depth is more than flavor its the way we assume the food will taste before it even hits our mouths.
- Use the inner circle of the plate as your canvas and let the outside rim be your frame.
- Remove anything that isn't directly adding to the story of your dish or its ingredients and start from there.
- Use a Carving fork to twirl pasta or stack ingredients in molds to achieve height.
- Balsamic reductions when appropriate and in moderation
- Garnish using whole or thinly sliced fresh herbs or nuts to add texture
- Throw around words like chiffonade and amuse bouche so you sound like you know what you're talking about.
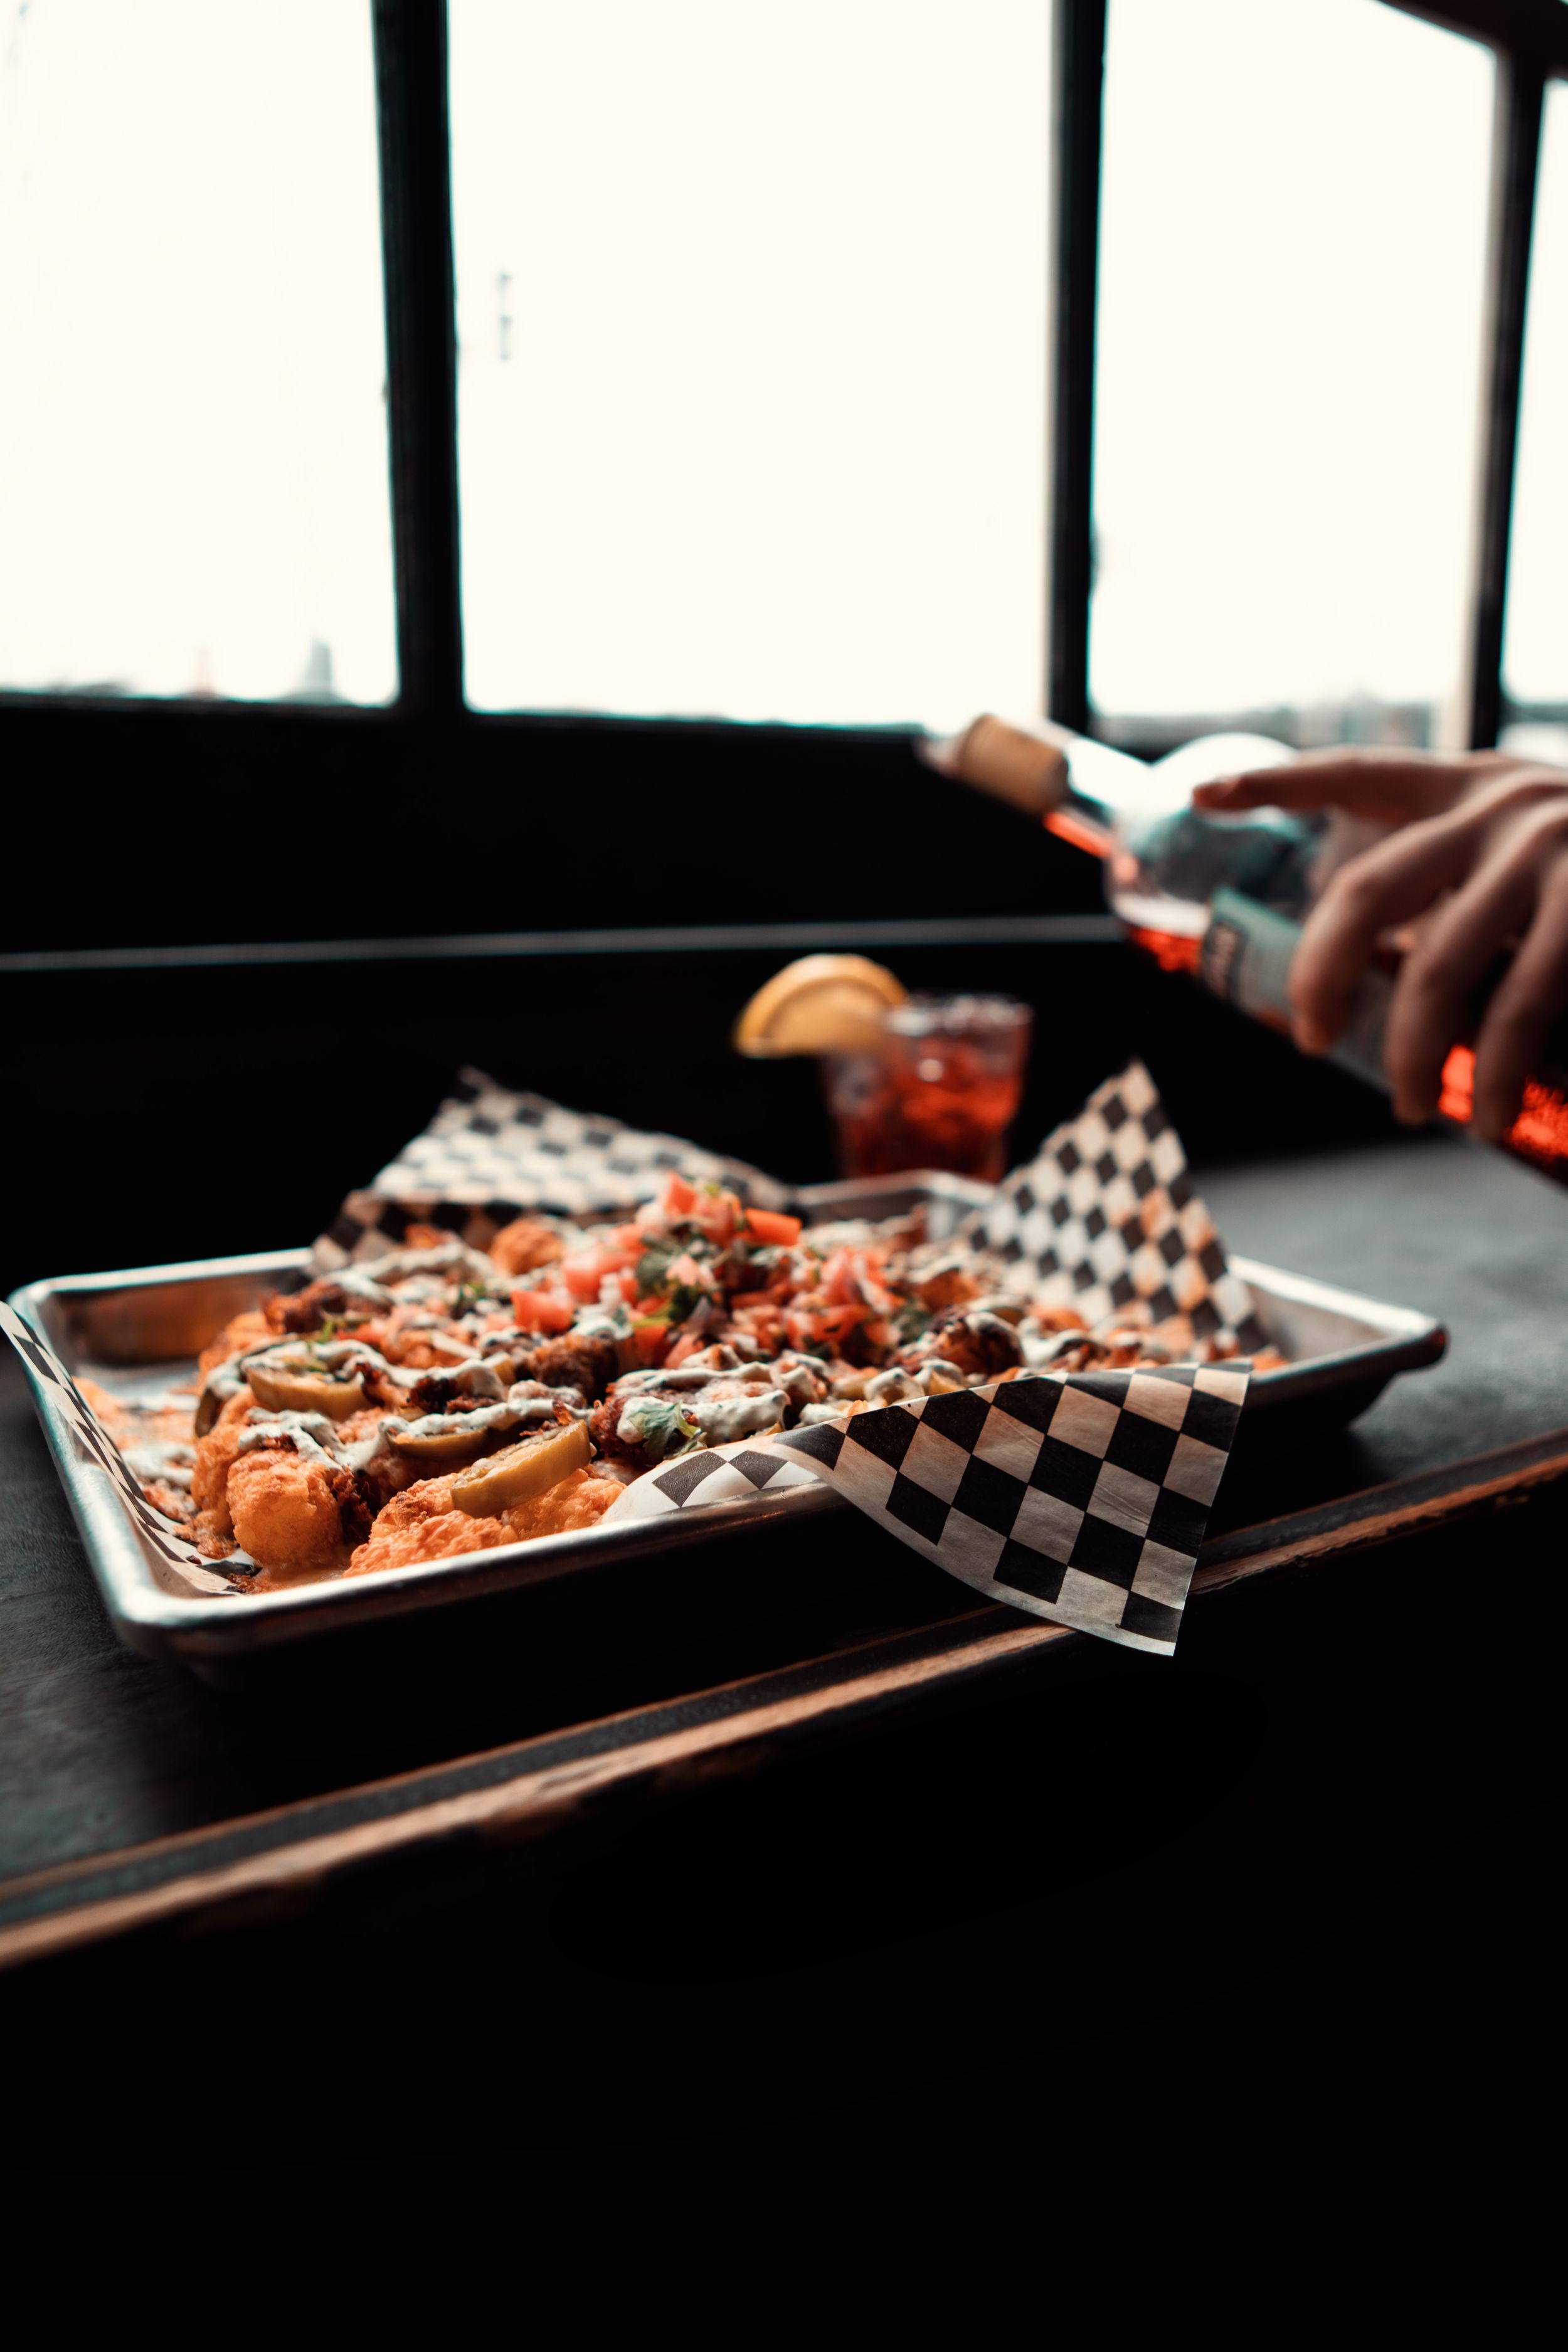
- Show more in frame than just your dish, seeing context goes a long way in telling the full story.


4. Settings
- Aperture: A lower aperture like f/1.4 will allow you to blur the background when you need to and allow you to work in fairly low light where a higher aperture like 5.6 or 8 will require more light but can guarantee more of the dish will be in focus front to back.
- Shutter Speed: A tripod lets you trade shutter speed for a higher aperture to get the sharpest picture with the best exposure in camera. If using a tripod use a timer or remote trigger so pressing the shutter doesn't introduce camera shake.
- ISO: The lowest ISO possible means the least amount of digital noise when you want to edit or print your picture. Know your camera and what is an acceptable amount of noise for you, all sensors handle low light differently.
5. Composition tips
- Be deliberate about what your subject is and take care to keep all of it in frame.
- Once you find good light take pictures from every angle to see what looks good.
- Get a wide shot zoomed out and a tight shot zoomed in. Experiment with perspective from what would be eye level of the dish using the table and utensils as foreground interest.
- Reflections, shadows, and symmetry are all ways to get creative in how your viewer sees your subject.
- Take too many pictures and look at them, make small changes and try again. Developing your eye takes designating time to give this your full attention.
6. Have fun
- Get into it, however you do... if you don't, you'll never want to do this again, you'll never get better at it, and no one will ever know how good your delicious food could look.